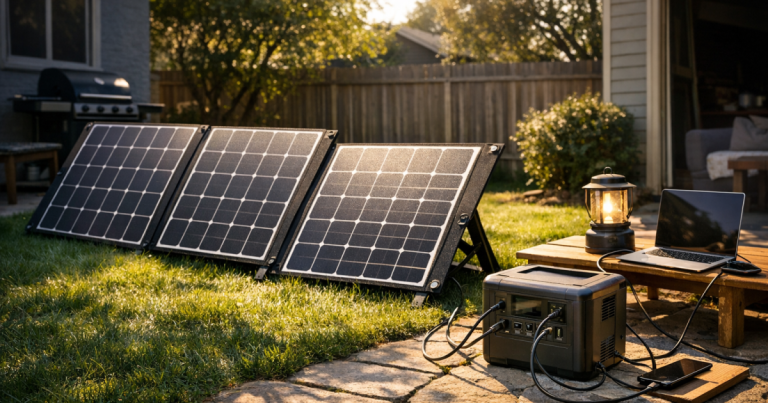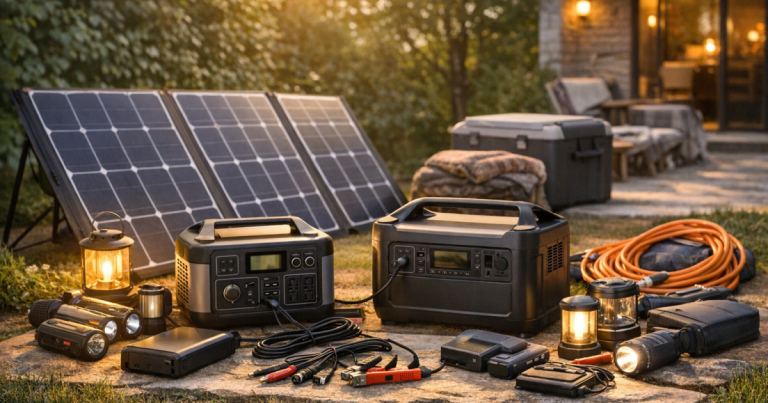
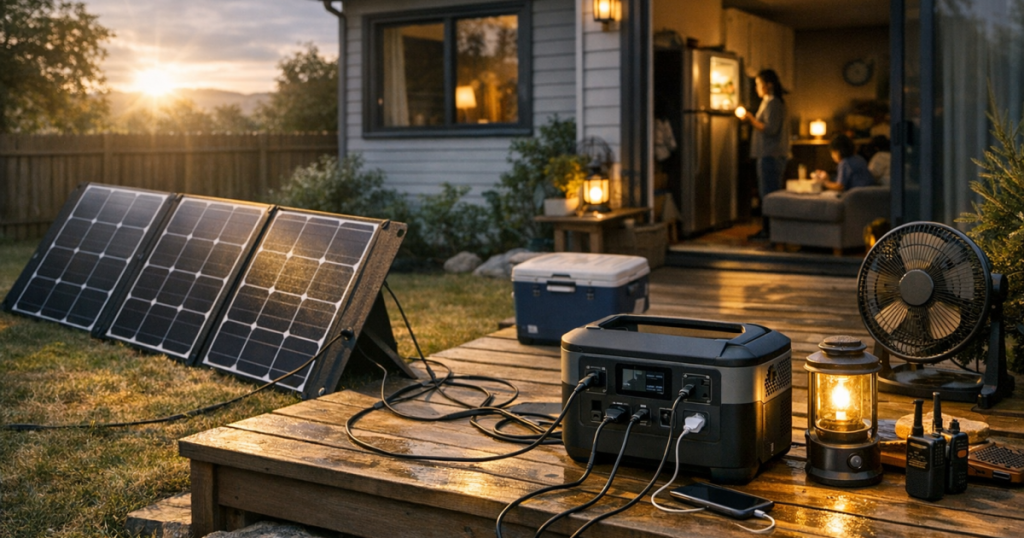
A long outage changes the job from “charge everything” to “keep the essentials alive.” A good plan for solar charging for home outages starts with the loads you truly need, then works backward to the battery, panels, placement, and test routine. The goal is not to recreate normal grid power; it is to keep phones, lights, internet gear, and food-safety tools usable for as long as the weather allows.
Electrical wiring, transfer switch work, and any connection between backup equipment and household circuits should be carried out by a qualified electrician to meet local code, manufacturer instructions, and safety requirements.
The short version
To set up a solar-powered outage charging system, choose the devices you need to support, estimate their daily watt-hour use, size a battery for at least a day of essentials, then add enough solar panel capacity to refill part of that battery during daylight. Place panels outdoors in clear sun, connect them only through the manufacturer-approved input or charge controller, and test the full routine before an outage.
Think of the system as three pieces: the loads, the battery, and the solar refill. The loads decide how quickly power is used. The battery decides how much reserve you have overnight or during clouds. The panels decide how much energy you can recover when the sun cooperates. If you are still building the broader household plan, start with a simple 72-hour outage checklist so the power setup supports food, water, lighting, communication, and comfort instead of becoming a project by itself.
Step 1: List only the loads you will actually run
Start with a short, honest list. During an outage, solar charging works best when it supports small, important loads rather than trying to run the whole house.
- Phones and tablets for communication.
- Rechargeable lanterns or LED lights.
- A home router and modem if your internet service is still active.
- A laptop for work, school, or emergency information.
- A small fan for heat relief.
- Food-safety tools such as a refrigerator thermometer or rechargeable cooler fan.
For each item, write down its watts if shown on the label or power adapter. Then estimate hours of use per day. The basic formula is simple: watts multiplied by hours equals watt-hours. A 20-watt device used for 5 hours needs about 100 watt-hours. Real results vary because inverters, chargers, and batteries all have losses, but this calculation gets you close enough to plan intelligently.
Step 2: Choose the battery role before thinking about panels
The battery is the center of the system. Solar panels do not provide steady household power by themselves; they refill a battery, and the battery powers your devices. For most homes and apartments, that battery is either a portable power station or a dedicated battery system installed as part of a larger backup setup.
Your solar charging for home outages plan should match the way you will use power after dark. If you need phones, lights, and a router, a smaller setup may be enough. If you want to support a refrigerator, medical equipment, multiple laptops, or essential circuits, the sizing becomes more serious and the limits should be checked carefully. For circuit-level planning, use a load-first approach like the one in this guide to choosing a portable power station for essential circuits.
Do not rely only on the headline battery capacity. Check the usable watt-hours, continuous output rating, surge capacity, supported charging input, and the type of outlets you need. If the manufacturer provides a runtime calculator, treat it as an estimate, not a promise. Your actual runtime depends on the load, battery age, temperature, inverter losses, and how deeply the battery is discharged.
Step 3: Size the solar panels for realistic weather, not perfect sun
Solar panel ratings are measured under controlled conditions. In a driveway, backyard, balcony, or campsite-style setup, output can drop because of shade, clouds, heat, dirty panels, cable losses, and poor angle. That does not make solar unreliable; it just means planning should be conservative.
A useful starting method is to decide how much energy you want to recover in one sunny day. If your essentials use 600 watt-hours per day, you might aim to collect a meaningful portion of that during daylight rather than expecting a full refill every time. More panel capacity can help, but only if your battery or power station can accept that input. Many systems have a maximum solar input limit, and exceeding manufacturer limits can damage equipment or create a safety hazard.
Also check connector compatibility. Portable panels often use common solar connectors or barrel-style plugs, but “it fits” is not enough. Voltage range, polarity, current limits, and approved adapters must match the battery manufacturer’s instructions.
Step 4: Pick a safe panel location and make it repeatable
Solar setup is easier when you decide the location before the lights go out. Walk your property on a sunny day and look for a spot with clear southern exposure, limited shade, and low foot traffic. In much of the US, a south-facing placement gives the best general solar access, though exact performance depends on the season, rooflines, trees, and local conditions.
- Use outdoor-rated cables and keep connections off wet ground when the manufacturer allows outdoor use.
- Keep panels away from driveways, doors, and places where someone could trip during cleanup.
- Do not run cords through closed windows or doors where they can be pinched or damaged.
- Bring batteries and power stations indoors only if the manufacturer says they are suitable for indoor use and they are not wet.
- Never place gasoline or propane generators indoors, in garages, or near open windows; solar charging does not remove generator safety rules if you use a hybrid plan.
For renters, balconies can be useful but limited. Confirm building rules, avoid loose panels in wind, and do not hang equipment where it could fall. A small, repeatable setup that you can deploy safely is better than an ambitious arrangement that only works on paper.
Step 5: Build a charging routine for the first 24 hours
The first day of an outage is when households often waste battery power because everyone plugs in everything at once. Set a routine before that happens.
Morning
Put panels outside as soon as there is useful daylight. Connect the battery according to the manual, confirm that charging has started, and check for shade as the sun moves.
Afternoon
Charge higher-priority devices while solar input is strongest. If the battery is refilling slowly, skip convenience loads and preserve power for the evening.
Evening
Bring portable equipment in before dew, rain, or wind becomes a problem. Switch to low-power lighting, charge phones in batches, and avoid leaving empty chargers plugged in overnight.
A simple written routine helps everyone in the household make the same choices. It also keeps one person from becoming the only keeper of the cords, adapters, and mystery blinking lights.
Step 6: Label, pack, and protect the small parts
Solar backup systems fail in ordinary ways: the adapter is missing, the panel cable is in another closet, the battery is half empty, or nobody remembers which port to use. Use labels and a dedicated storage bin to remove the guesswork.
- Label the solar input cable and the wall charger separately.
- Keep adapters in a zip pouch attached to the battery or panel case.
- Store the manual or a printed one-page setup note with the kit.
- Add a small flashlight or headlamp to the same bin.
- Record the date of your last full charge and test run.
If your battery has a storage mode or recommended recharge interval, follow the manufacturer’s instructions. Lithium battery products should not be left ignored for long stretches and should be stored away from excessive heat, moisture, and physical damage.
Step 7: Test the system before storm alerts start
A backyard test is the most useful part of the setup. Pick a normal sunny day, run your planned loads, charge from solar, and write down what happened. You are not trying to create a laboratory result. You are learning whether your household routine works.
Check how long the battery lasts with your real devices, how fast the panels refill it, whether cables reach safely, and whether the display or app-free controls make sense to everyone who may need to use them. Repeat the test after adding new loads or changing the layout. For a deeper maintenance routine, use this backup power guide on how to test and maintain backup power before an outage.
Common setup mistakes to avoid
- Starting with panels instead of loads: Panel size only makes sense after you know what you need to power.
- Assuming full rated solar output: Real sunlight is rarely perfect for a full day.
- Mixing unsupported cables or adapters: Match voltage, polarity, connector type, and manufacturer limits.
- Trying to run heat-producing appliances: Space heaters, toasters, coffee makers, and hair dryers can drain batteries quickly and may exceed output limits.
- Skipping the night plan: Solar helps during daylight, but the battery carries you after sunset.
- Forgetting food safety: Backup power can help, but refrigerator and freezer safety still depend on temperature, door openings, and outage duration.
Helpful questions
Can solar charging run my whole house during a blackout?
Usually not with a simple portable setup. Whole-home backup requires careful load planning, approved electrical equipment, and professional installation. A portable solar charging system is better viewed as essential-load support unless it is part of a properly designed larger system.
How many solar panels do I need?
There is no universal number. The answer depends on your daily watt-hour use, available sunlight, panel rating, battery charging limit, and how much reserve you want. Start with loads, then size the battery, then choose panel capacity that the battery can safely accept.
Can I use solar panels indoors by a window?
It is usually a poor outage plan. Window glass, shade, and angle can reduce output sharply. For dependable charging, panels generally need outdoor placement with clear sun and safe cable routing, following the product manual.
The big picture
A strong solar charging setup is modest, repeatable, and tested. It keeps the most important devices running, gives you a way to recover energy during daylight, and reduces dependence on fuel deliveries or noisy equipment during shorter grid failures. Build it around real loads, keep the wiring within approved limits, and practice once while conditions are calm. That preparation is what turns a box of gear into a useful household backup plan.