A home blackout drill turns your outage plan from a good idea into something your household can actually use. You do not need to make it dramatic, shut down the whole house, or spend a weekend pretending to camp indoors. A calm 60- to 90-minute practice run is enough to reveal missing flashlights, dead batteries, confusing power cords, and routines that need a second look.
Generator-to-panel connections, transfer switches, interlocks, and any wiring changes should be handled by a qualified electrician to meet local electrical codes, manufacturer instructions, and safety requirements.
The short version
- Pick one realistic outage scenario, such as a 12-hour storm outage, an overnight grid failure, or a wildfire-related shutoff notice.
- Practice during daylight for your first run, then repeat later with a short evening drill once everyone understands the routine.
- Do not start by cutting power to your whole electrical panel. Simulate the outage first by turning off lights, unplugging nonessential devices, and avoiding normal conveniences.
- Test the things that matter most: safe movement, communications, refrigerator and freezer habits, medications, internet gear, water, toilets, and backup power.
- Write down what failed, what was confusing, and what needs to be charged, labeled, replaced, moved, or simplified.
Choose one believable scenario
A useful drill starts with a simple story. Avoid trying to practice every possible emergency at once. The goal is not to create stress; it is to make ordinary decisions easier when the power is actually out.
For a first drill, choose one of these scenarios:
- A thunderstorm knocks out power at 7 p.m., and you expect service to return by morning.
- A winter outage starts before dinner, and the house needs safe lighting, warm layers, and a simple meal plan.
- A utility announces a possible public safety shutoff, and you have several hours to charge devices, cool the house, and stage supplies.
- A short grid failure happens while someone is working from home and another person needs refrigerated medication protected.
If your area receives planned outage notices, use them as a planning model. A real notice gives you a deadline, which is useful for practicing charging, laundry, ice, fuel, and food decisions. For a more detailed preparation sequence, see the guide to preparing for a planned power shutoff.
Set ground rules before you begin
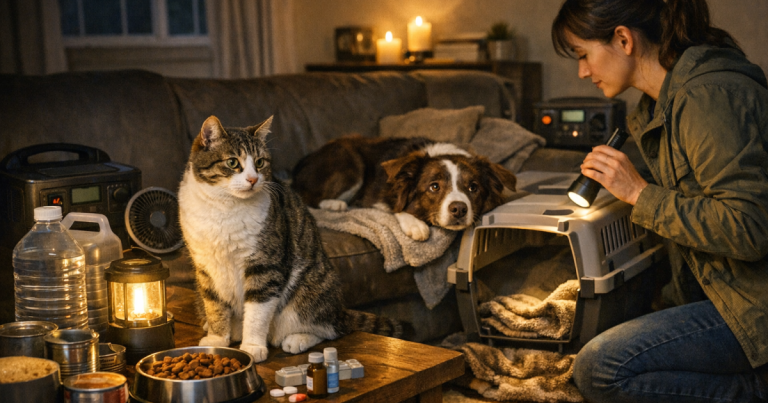
Tell everyone in the household when the drill starts, how long it will last, and what you are testing. Include kids, older adults, roommates, and anyone who may be home alone during an outage. If pets are part of the household, include their needs too: water bowls, leashes, crates, medication, and safe movement in the dark.
For the first run, keep the refrigerator and freezer plugged in. Do not switch off hardwired safety equipment, medical devices, sump pumps, or anything that protects the home. If you have a battery backup, UPS, power station, or generator, the drill can test how you would use it without creating avoidable risk.
Make the rules practical:
- No overhead lights unless you are specifically testing a backed-up circuit.
- No microwave, dishwasher, laundry, garage door opener, or television unless your plan truly covers them.
- No opening the refrigerator or freezer except for one planned check.
- No phone charging from wall outlets unless that circuit is backed up.
- No generator use indoors, in a garage, on a porch, or near open windows.
Step 1: Start with people, not equipment
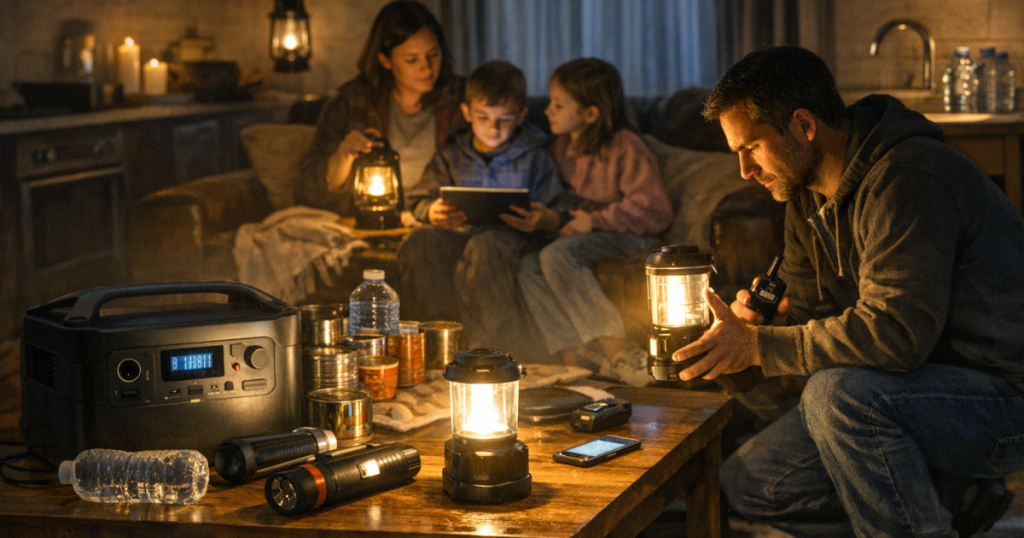
When the drill begins, have everyone pause for two minutes and answer the basic questions: Where is each person? Who needs to be contacted? Is anyone using medical equipment, refrigerated medication, mobility aids, or a device that must stay powered? Is anyone expected home soon?
This is the part many households skip, but it is the part that keeps a blackout from becoming chaotic. Decide who checks on neighbors or family, who handles pets, who gathers lighting, and who tracks time. If one person knows the entire plan and no one else does, the plan is too fragile.
Step 2: Find lighting without using your phone flashlight
Phones are useful, but they are poor primary flashlights during an extended outage. They are also communication tools, maps, weather radios, and medical contact devices. During the drill, let phones stay in pockets while the household finds lanterns, headlamps, flashlights, and spare batteries.
Walk the normal routes: bedroom to bathroom, kitchen to back door, stairs, hallway, garage entry, and the place where you keep breakers or shutoff information. Look for trip hazards, dark steps, loose rugs, cluttered extension cords, and doors that are hard to unlock without light.
A good lighting setup usually includes area lighting for rooms and hands-free lighting for tasks. One bright lantern in the kitchen is helpful, but a headlamp is better when you are checking a breaker label, walking a dog, or moving around a basement.
Step 3: Test communications and information
Next, practice how your household gets updates. Check whether your phones have emergency alerts enabled. Confirm that portable chargers are charged. If you use a battery radio, weather radio, or car radio as part of the plan, turn it on and make sure everyone knows where it is.
Create a short contact tree. It can be as simple as one out-of-area relative, one nearby neighbor, and one household group text. During widespread outages, text messages may go through when calls struggle. If someone works from home, decide how long they can stay connected before switching from normal work mode to outage mode.
Step 4: Practice refrigerator and freezer discipline
Food safety depends less on frantic action and more on keeping cold air where it belongs. During the drill, do not browse the refrigerator. Decide what you would eat first, what can wait, and how you would track time.
USDA guidance generally treats a refrigerator as able to keep food cold for about 4 hours if the door stays closed. A full freezer can often hold temperature for about 48 hours, and a half-full freezer for about 24 hours, if it remains closed. Those are planning guidelines, not guarantees. Actual results depend on room temperature, appliance condition, how full the freezer is, and how often the door opens.
Useful checks during this step:
- Do you have appliance thermometers in the refrigerator and freezer?
- Can you make one no-cook or low-cook meal without opening the refrigerator repeatedly?
- Do you have a cooler plan if the outage stretches longer?
- Are baby formula, pet food, and special-diet foods easy to identify?
- Do you know which refrigerated medications need special handling and what the label or pharmacist says about temperature exposure?
Step 5: Run your essential power plan
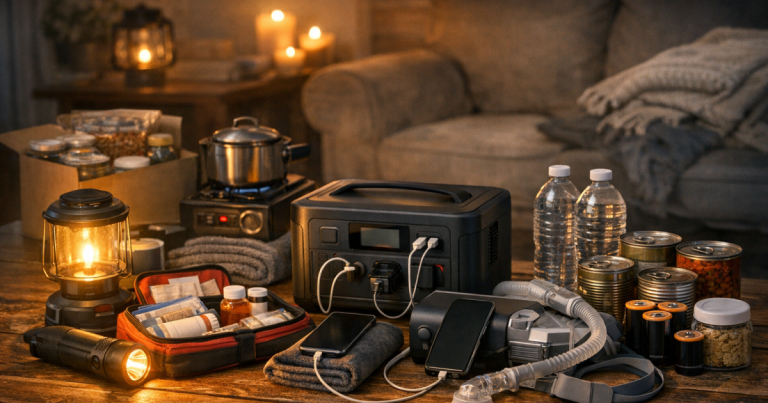
This is where many drills reveal the biggest gap between intention and reality. Make a short list of what you actually need to power: phones, a router and modem, a laptop, a CPAP machine, a lamp, a fan, a refrigerator, or a sump pump. Then test only the items your backup setup is meant to support.
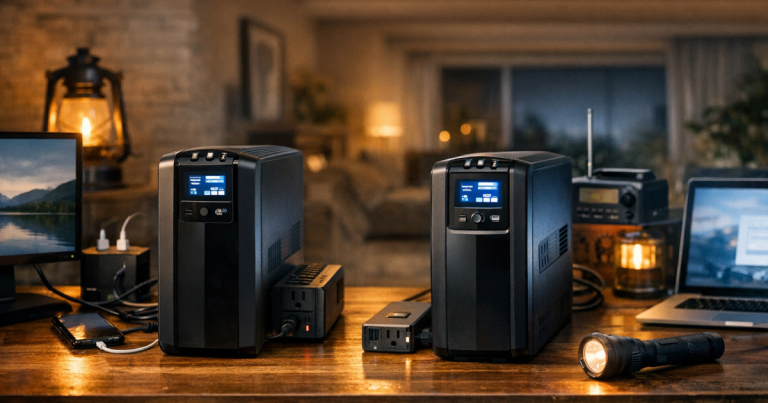
If you use a UPS for internet gear, unplug the UPS from the wall and confirm what stays online. If you use a portable power station, plug in the intended devices and look at the load reading if your unit provides one. If you use a generator, practice the setup path without rushing: where it sits outdoors, which cords are used, what stays unplugged, and how you avoid overloading it.
Never run a portable generator indoors, in a garage, in a basement, or near windows, doors, soffit vents, or attached living spaces. Keep it outdoors with exhaust pointed away from the home, follow the manufacturer’s clearance instructions, and let it cool before refueling. Do not backfeed a home through a dryer outlet or other improvised connection.
For households using more than one layer of backup, it helps to know which device buys time and which device does heavier work. A UPS may bridge a short outage for networking equipment, a power station may cover phones and small electronics, and a generator may be reserved for larger loads or longer outages. The guide to layering UPS, power station, and generator backup explains that handoff in more detail.
Step 6: Check water, toilets, and hygiene
Power outages can affect water in different ways depending on your home. City water may continue normally, but treatment, pumping, or local advisories can still matter. Well pumps usually need electricity. Apartment buildings may rely on pumps for higher floors. Septic systems and sump pumps may also change what you can safely use.
During the drill, answer these questions:
- How much drinking water is ready without filling anything at the last minute?
- Can everyone wash hands if the tap pressure drops or a boil water notice is issued?
- Do you have a toilet plan if water service stops?
- Where are wipes, trash bags, hand sanitizer, paper towels, and cleaning supplies?
- Can you care for infants, older adults, pets, or medical needs without normal laundry and hot water?
Do not wait until a real outage to figure out bathroom routines. A small hygiene gap becomes uncomfortable quickly, especially in summer heat, winter storms, or multi-day outages. For a full household checklist, use the guide to planning water, toilets, and hygiene during a blackout.
Step 7: Walk through the evening routine
Even if the drill happens in daylight, mentally walk through the evening. How would you cook or avoid cooking? Where would everyone sleep if the house gets too hot or too cold? Which room is easiest to light? Can pets go outside safely? Can you open a garage door manually? Does anyone need a white noise machine, fan, or medical device at bedtime?
This step is not about making the outage luxurious. It is about identifying the small comfort items that keep people calm and safe: layered clothing, battery fans, extra blankets, a charging plan for hearing aids, a printed medication list, spare glasses, or a simple shelf-stable meal.
Step 8: End with a five-minute debrief
When time is up, resist the urge to simply turn everything back on and move on. Gather the household and ask what was confusing, what was missing, and what felt harder than expected.
Write down action items in plain language:
- Charge both power banks on the first Sunday of each month.
- Move two flashlights from the garage to the bedroom hallway.
- Label the power station cord bag.
- Print the emergency contact list and tape it inside the pantry door.
- Add appliance thermometers to the refrigerator and freezer.
- Replace the dead batteries in the weather radio.
- Practice opening the garage door manually with every adult in the home.
Assign each fix to a person and a date. A drill that produces a short, finished list is more valuable than a dramatic drill that leaves everyone overwhelmed.
Simple drill schedules that work
You do not need constant practice. Most households can stay sharp with a small rhythm:
- Monthly: charge power banks, lanterns, radios, and power stations; check flashlight batteries.
- Every 3 months: run a 30-minute mini drill for lights, communications, and device charging.
- Twice a year: review food, water, medication, documents, and seasonal needs.
- Before storm season or wildfire season: test the full plan, including backup power setup and contact routines.
- After any real outage: update the plan while the lessons are still fresh.
If your household includes medical equipment, refrigerated medication, small children, older adults, or work-from-home responsibilities, shorten the interval between checks. The more the outage would disrupt daily life, the more valuable a calm practice run becomes.
Common mistakes to avoid
- Testing gear without testing people. Everyone should know where supplies are and how to use the basics.
- Assuming a battery or generator can run everything. Runtime changes with load, temperature, device condition, and charging status.
- Opening the refrigerator repeatedly. Plan meals before opening the door.
- Keeping all lighting in one closet. Put light where people wake up, walk, cook, and exit.
- Forgetting renters and apartments. You may not control building systems, so focus on safe lighting, communication, water, device power, and food decisions.
- Using unsafe cords or improvised electrical connections. Extension cords and generator connections need to match the load, location, and equipment instructions.
Common questions
Should I actually turn off my main breaker for the drill?
Not for your first run. Simulate the outage by turning off lights and avoiding normal outlets. If you later test circuits, backed-up loads, or panel behavior, keep safety equipment on and follow professional guidance for any electrical work.
How long should a first drill last?
Plan for 60 to 90 minutes. That is long enough to test lighting, communications, food habits, bathroom routines, and basic power decisions without turning the exercise into a burden.
Can renters run a useful drill?
Yes. Renters can test flashlights, phone charging, internet backup, shelf-stable meals, water storage, medication plans, building exit routes, and communication routines without changing wiring or building systems.
How often should we repeat a home blackout drill?
Once or twice a year is enough for many households, with shorter monthly charging checks. Repeat sooner after moving, changing medical needs, buying new backup power gear, or experiencing a real outage.
What is the most important thing to write down afterward?
Write down the first three fixes that would make the next outage easier. Focus on clear actions, such as charging a device, moving a lantern, labeling a cord, or printing a contact list.
The big picture
A good drill is not about proving your household can endure hardship. It is about making the first hour of an outage feel familiar. When the lights go out, you want everyone to know where to stand, what to grab, what not to open, who to contact, and which devices matter most.
Keep the first practice simple, safe, and short. Then improve one layer at a time: lighting, communication, food, water, hygiene, medical needs, and backup power. The result is a home that feels more prepared without turning everyday life into an emergency exercise.