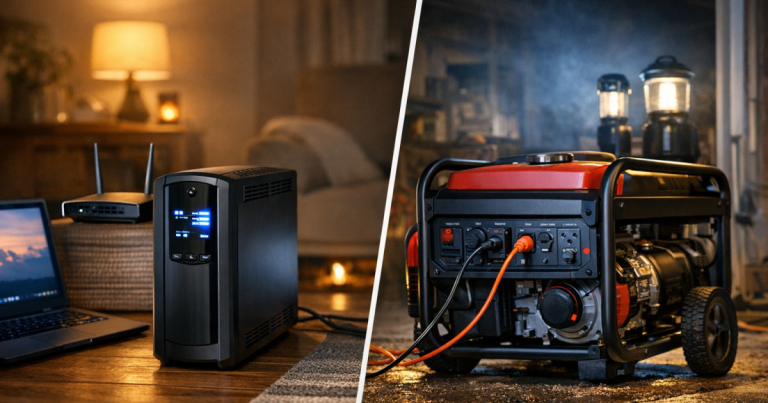
The best time to find a weak cord, dead battery, overloaded circuit, or confusing startup sequence is on a calm afternoon, not during a storm. A backup power test turns your plan into a short rehearsal, so every person in the household knows what should happen when the grid goes down.
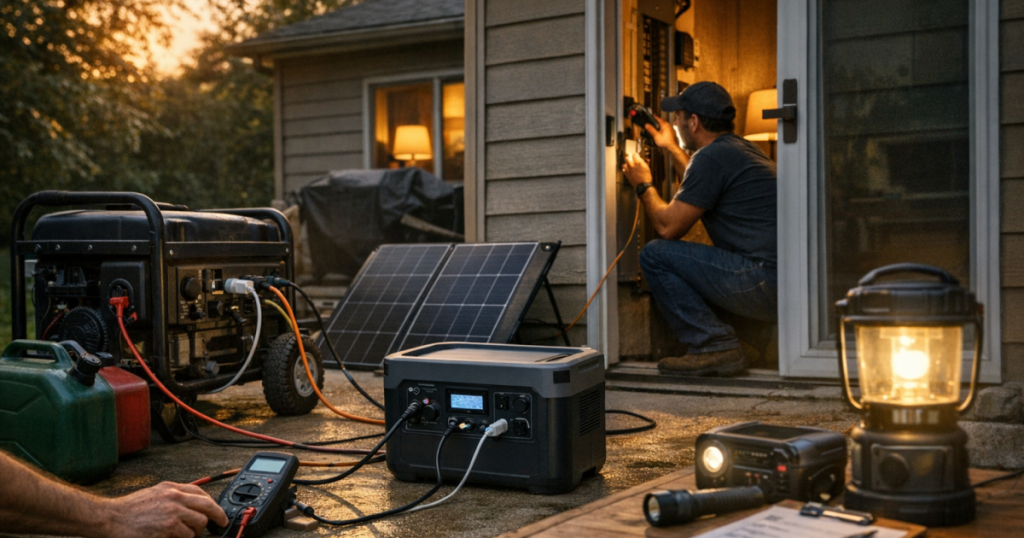
Generator inlet wiring, transfer switch installation, interlock setup, and any connection to household electrical circuits should be carried out by a qualified electrician in compliance with local codes, manufacturer instructions, and applicable safety standards.
What to know first
Testing does not mean trying to run the whole house just to see what happens. A useful home power rehearsal checks four things: your equipment starts, your loads are realistic, your cords and connections are safe, and your household routine is clear.
Before you begin, write down the essentials you expect to power. For many homes, that list includes a refrigerator or freezer, modem and router, phones, a few lights, a medical device, a laptop, or a sump pump. If you have not already sorted those priorities, start with what gets power first during a blackout so the test reflects real needs instead of guesswork.
- Pick a dry day with good visibility and enough time to work slowly.
- Tell everyone in the home that you are doing a drill, not responding to an emergency.
- Keep generator testing outdoors, away from doors, windows, vents, garages, and enclosed spaces.
- Use the manuals and labels for your generator, portable power station, UPS, cords, transfer switch, and appliances.
- Stop the test if anything smells hot, sparks, trips repeatedly, or behaves differently than expected.
Step 1: Decide what your test is supposed to prove
A good test has a clear scope. Do not start by plugging in everything nearby. Instead, choose one scenario: a two-hour evening outage, an overnight refrigerator-and-router plan, or a longer storm setup where you rotate power between essentials.
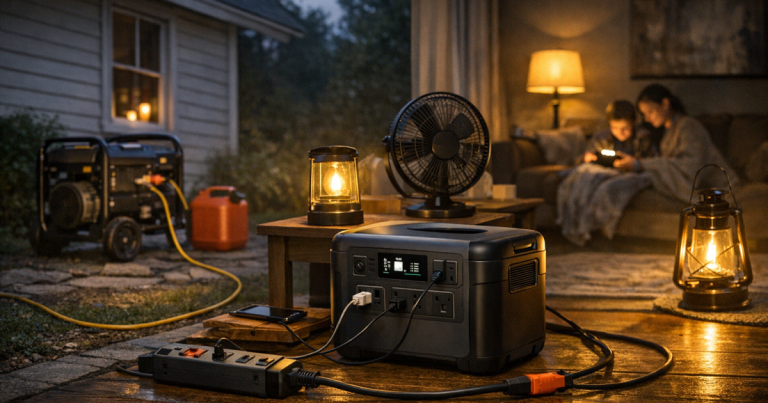
For a small battery setup, the goal may be simple: can you keep phones, a router, lights, and one laptop running in the room where people gather? For a portable generator, the goal may be to confirm the startup process, safe placement, cord route, transfer switch operation, and the handful of circuits you plan to energize.
If your household has medications that require refrigeration, a CPAP machine, mobility equipment, or work-from-home requirements, include those needs in the scenario. The test should reflect the real pressure points in your home, not an idealized checklist.
Step 2: Inspect everything before power is flowing
Walk the setup before you turn anything on. This is where many preventable problems show up: a cord that is too short, a missing adapter, a tripping hazard, a dead flashlight, or a fuel can that is not where you thought it was.
- Check cords for cuts, crushed insulation, loose ends, or warm spots from previous use.
- Confirm extension cords are appropriate for the equipment and the load they will carry.
- Make sure generator cords match the inlet and outlet configuration intended by the manufacturer and electrician.
- Check battery power stations and UPS units for charge level, error lights, and stored accessories.
- Move combustibles away from generators, fuel containers, exhaust paths, and hot surfaces.
- Place carbon monoxide alarms where your home plan depends on them, and confirm they are working.
If your plan uses a generator, also check oil, fuel condition, air intake areas, and the manufacturer’s startup instructions. If your plan uses a portable power station, check the display, outlets, charging cable, and any device-specific settings you rely on. For UPS units, confirm the protected electronics are plugged into the correct outlets.
Step 3: Start with no load, then add essentials one at a time
The safest and clearest way to test is to begin with the power source running but nothing demanding power from it. Once the generator, power station, or UPS is stable, add one load at a time and watch what changes.
Start with simple, low-demand items such as a lamp or phone charger. Then add the items that matter most. A refrigerator, freezer, sump pump, microwave, space heater, hair dryer, or well pump can behave very differently from a light or router. Some appliances draw extra power at startup, and the label or manual is a better guide than assumptions.
Do not use indoor generators, do not backfeed a home through a dryer outlet or wall receptacle, and do not run cords under rugs, through pinched windows, or across wet areas. If the setup requires powering household circuits, use a properly installed transfer switch or approved interlock arrangement.
Step 4: Time the setup instead of guessing runtime
Runtime estimates are useful, but real homes are messier than simple math. During your drill, note how long the setup runs under the actual loads you chose. You do not need to drain a battery to empty or run a generator all day; the point is to understand the rate of use and whether your plan feels realistic.
- Record the starting battery percentage or fuel level.
- Write down each item you connect and when you connect it.
- Check whether the power source sounds strained, shows overload warnings, or trips a breaker.
- Feel cord ends carefully for unusual warmth after the load has been running.
- Note which items can be rotated instead of powered continuously.
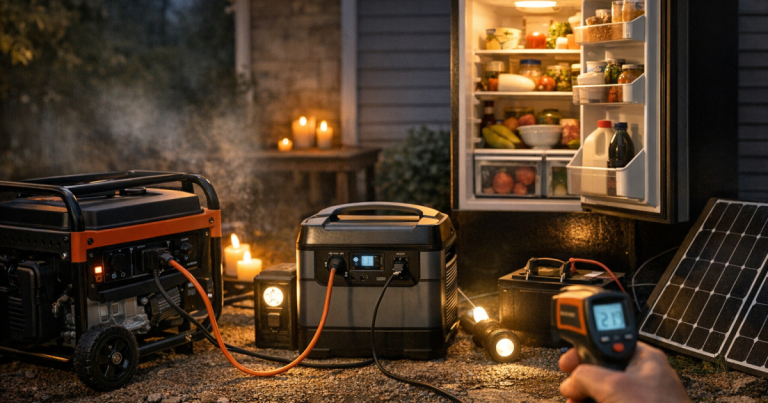
A refrigerator, for example, may not need continuous backup power in every situation, but food safety depends on many factors, including door openings, room temperature, and outage length. A router may draw much less power than a kitchen appliance, yet it may be more important during a short workday outage. Testing helps you match power to priorities rather than treating all loads equally.
Step 5: Practice the human routine
Outage plans fail when only one person knows where everything is. During the drill, have another adult or responsible household member follow the written steps while you watch. The goal is not perfection; it is finding confusing parts while the consequences are low.
Confirm where the flashlight is, where the cords are stored, which outlets or circuits are used, what stays off, and who handles pets, kids, refrigerated items, or communication with neighbors. If your plan includes a longer disruption, connect the test to your broader 72-hour home outage plan so backup power supports food, water, lighting, heat, cooling, and communications instead of standing alone.
- Label cords and outlets in plain English.
- Keep startup and shutdown steps in a waterproof folder or taped inside a utility cabinet.
- Store adapters with the equipment they support.
- Set a rule for what never gets plugged in during an outage.
- Make sure children understand what not to touch.
Step 6: Shut down and reset the system
The end of the test matters as much as the beginning. Shut equipment down according to the manufacturer’s instructions, then let hot equipment cool before storing it or refueling. For generators, avoid refueling while hot. For batteries and UPS units, plug them back in so they are ready for the next event.
Coil cords loosely, wipe off dirt or moisture, return accessories to the same storage bin, and update your notes while the drill is still fresh. If you found a weak spot, fix it now. Common findings include a missing heavy-duty cord, unclear labels, too many devices on one outlet, a battery that was not fully charged, or a generator that needs service before storm season.
How often to repeat the drill
A full household rehearsal once or twice a year is usually enough for many homes, but equipment checks should happen more often. Batteries should be checked on a schedule that matches the manufacturer’s instructions. Generators need regular exercise, fuel attention, and maintenance so they do not become a noisy decoration in the garage.
If you rely on a generator, build a simple recurring routine around starting it, checking fluids, reviewing cords, and confirming safe placement. The steps in a monthly generator test routine can make that habit easier to keep without turning it into a major project.
Questions people ask
Should I turn off grid power to test my setup?
Most households do not need to cut power to the home for a basic rehearsal. You can test startup, cords, batteries, selected loads, and household steps without creating an actual outage. If testing a transfer switch or interlock under real conditions, follow the electrician-installed system instructions.
How long should a home backup power drill take?
Plan on 30 to 90 minutes for a useful first drill. A small battery setup may take less time, while a generator with cords, outdoor placement, load rotation, and shutdown steps takes longer.
Can I plug a refrigerator into a portable power station during a test?
Only if the refrigerator’s requirements are within the power station’s output limits and the manufacturer’s instructions allow that use. Watch for startup surges, overload warnings, and cord suitability rather than assuming it will work because the plug fits.
What should I write down during the test?
Record the date, weather, equipment used, starting charge or fuel, connected loads, problems found, runtime observations, and changes to make before the next outage. Simple notes are more useful than a perfect spreadsheet nobody updates.
What if my setup fails during the test?
Treat that as a success, not a failure. The drill found the problem before a real blackout. Stop, make the setup safe, identify the weak point, and fix the plan before relying on it.
Final thoughts
A calm rehearsal turns backup power from a collection of gear into a household routine. Keep the test modest, realistic, and safety-first: power the essentials, measure what happens, label what confused people, and reset everything before you put it away.
The real goal is confidence. When the next storm, grid failure, or wildfire shutoff warning arrives, you will already know what to carry outside, what to plug in, what to leave off, and when your backup power test last proved the plan.