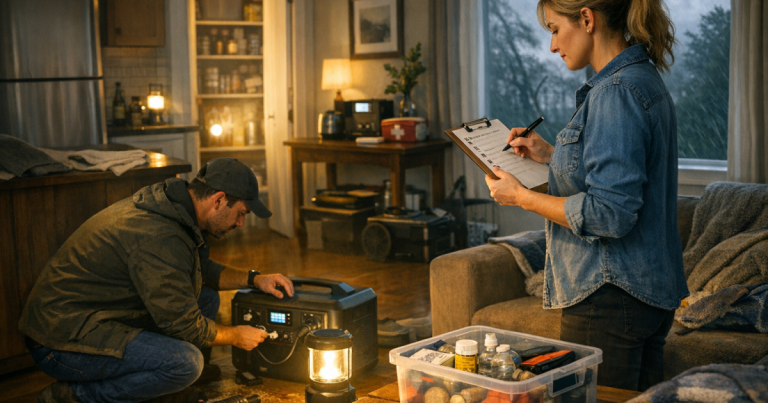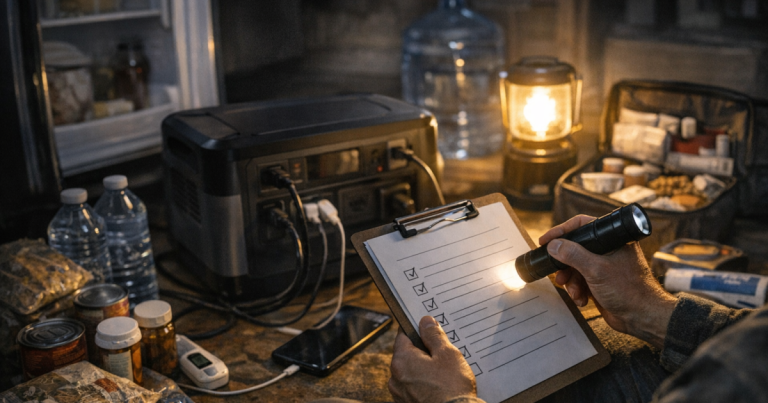
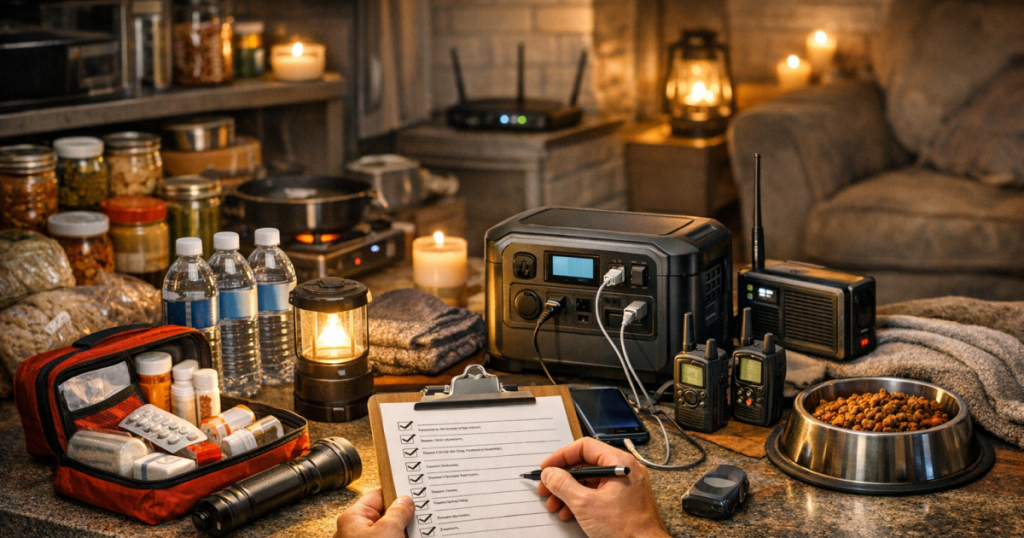
A power outage feels less chaotic when every room already has a job. A room-by-room blackout preparedness checklist turns a vague emergency plan into simple actions: what to protect, what to unplug, what to power, and what to grab first.
The goal is not to make your home run like nothing happened. It is to keep people safe, preserve essentials, maintain communication, and reduce preventable losses until the grid comes back.
Generator transfer switches, interlock kits, and any connection between backup power and household wiring should be installed by a qualified electrician to meet local electrical codes and safety requirements.
Main points
- Start with people, not gear: medical needs, heat or cooling concerns, communication, and lighting come first.
- Assign each room a short list of outage tasks, supplies, and shutoff or safety checks.
- Keep backup power realistic: small batteries, UPS units, portable power stations, and generators solve different problems.
- Write down what should be unplugged, what must stay powered, and what can wait.
- Practice the list during normal conditions so the first real outage is not your test run.
Step 1: Define your household outage priorities
Before you walk room to room, make one household-wide priority list. This prevents the classic mistake of focusing on the loudest inconvenience while missing the most important need.
Write down the people and systems that must be accounted for first. That may include a CPAP machine, refrigerated medication, mobility equipment, baby supplies, pets, well pump needs, remote work requirements, security lighting, or a freezer full of food. Then rank those needs by time sensitivity. A phone can usually wait longer than a medical device. A freezer can stay cold longer if it remains closed. A modem and router use modest power, but they can matter a lot if cell service is weak.
Use three simple categories: critical in the first hour, important by bedtime, and useful if the outage lasts into tomorrow. That one filter makes the rest of the checklist calmer and more realistic.
Step 2: Build the kitchen and food safety section
The kitchen is where money, comfort, and safety meet. Your checklist should cover cold food, cooking limits, water, and cleanup.
Kitchen checks to include
- Keep refrigerator and freezer doors closed as much as possible.
- Place an appliance thermometer in the fridge and freezer before outage season.
- Group high-priority cold items together so you can grab them quickly if needed.
- Store shelf-stable meals that do not require complicated cooking.
- Keep a manual can opener where everyone can find it.
- Have paper towels, trash bags, dish soap, and sanitizing supplies ready.
- Decide in advance whether you have a safe outdoor cooking method, and never use charcoal grills, camp stoves, or fuel-burning devices indoors.
If food safety is one of your main concerns, use a dedicated plan for when to open, move, or discard food. Our guide on how to keep fridge and freezer food safe gives more detail than a room checklist can comfortably hold.
Step 3: Plan the bedroom around sleep, warmth, and medical needs
Bedrooms are easy to overlook because they do not feel like “utility” spaces. In a long outage, though, sleep quality affects everyone’s patience and decision-making.
Each bedroom checklist should include a flashlight or lantern, spare batteries if applicable, warm layers, a way to charge a phone, and any medication or medical device plan. If someone uses a CPAP machine, oxygen equipment, or another electrically powered health device, write down the exact nightly routine and the backup power plan in plain language.
Bedroom checks to include
- Keep a flashlight or lantern within reach of the bed.
- Store medications in a known location and note any refrigeration needs.
- Write down the backup plan for CPAP or other essential devices.
- Keep extra blankets, socks, and seasonal layers nearby.
- Place a whistle or simple alert device near older adults or anyone with mobility concerns.
- Keep a printed emergency contact list in the nightstand.
For households with sleep apnea equipment, do not treat runtime as a guess. Humidifier settings, pressure settings, battery size, and inverter losses can all change results. Start with our detailed guide to powering a CPAP machine during an outage and then copy the final plan into the bedroom checklist.
Step 4: Make the living room your safe gathering area
Most households naturally gather in one shared room during an outage. Choose that space ahead of time and set it up as the calm zone: lighting, charging, weather updates, board games, snacks, and the main information board.
This room does not need to feel like a bunker. A small basket with lanterns, battery banks, a radio, charging cables, and a printed checklist can make the house feel organized within minutes. If you have kids, this is also where a few low-tech distractions earn their shelf space.
Living room checks to include
- Choose the main gathering spot and tell everyone where it is.
- Store at least one area lantern plus individual flashlights.
- Keep a NOAA weather radio or battery-powered radio accessible.
- Put charging cables for common phones and tablets in one pouch.
- Keep a printed list of utility contacts, family numbers, and local emergency alerts.
- Set a rule for conserving phone power, such as reducing screen brightness and avoiding unnecessary streaming.
Step 5: Cover the home office and internet corner
If you work from home, manage medical appointments online, or rely on Wi-Fi calling, your office checklist deserves more than “charge the laptop.” Separate communication from productivity. Staying reachable is usually more important than running a full workstation.
Map the actual equipment chain: modem, router, mesh node if used, laptop, monitor, phone, and any essential work device. Then decide what stays on backup power and what gets shut down. A UPS can bridge short outages and protect electronics from abrupt shutdowns. A portable power station can extend runtime, but only if the total load is modest and you have the right cables and placement.
Office and internet checks to include
- Label the modem and router plugs so they are easy to identify.
- Write down which devices should be unplugged during an outage.
- Keep one charging cable for each essential work device in the same drawer.
- Save important documents for offline access before storm season.
- Know whether your phone can use Wi-Fi calling if cellular service is poor.
- Test your UPS or battery setup before you need it.
If internet access is a priority, see our guide to backup batteries for routers and modems and then note your actual setup in the office section of the checklist.
Step 6: Do a bathroom and hygiene pass
Bathrooms matter more as an outage stretches. Your checklist should cover lighting, water, sanitation, and personal care without assuming normal plumbing and hot water will be available.
Bathroom checks to include
- Keep a small flashlight or night-light alternative outside the bathroom door.
- Store basic first-aid supplies in a dry, visible container.
- Keep hand sanitizer, wet wipes, feminine hygiene products, and extra toilet paper stocked.
- If you rely on an electric well pump, store potable water for drinking and hygiene.
- Know whether toilets can be flushed manually with stored water in your home setup.
- Keep prescription information and basic medical notes in a waterproof pouch.
For apartment dwellers, the bathroom list may be mostly hygiene and lighting. For rural homes with wells or septic systems, water planning becomes much more central.
Step 7: Check the garage, basement, and utility areas
This is where the checklist turns from comfort to damage prevention. Do not wait until water is rising or temperatures are dropping to figure out what matters.
Utility area checks to include
- Know where the main electrical panel is and label key breakers clearly.
- Locate water, gas, and propane shutoffs and keep the correct tool nearby if one is required.
- Keep sump pump backup plans visible if your home is at risk of basement water.
- Store extension cords neatly and use only cords rated for the job and location.
- Keep fuel outdoors in approved containers and away from living spaces, ignition sources, and children.
- Never run a generator in a garage, basement, porch, shed, or near open windows or doors.
If you use a portable generator, the room-by-room list should say what it powers, where it sits outside, which cords or transfer equipment are used, and who is responsible for refueling. Refuel only when the generator is off and cooled according to the manufacturer’s instructions.
Step 8: Add pets, kids, and older adults to specific rooms
A strong checklist reflects the people who actually live in the home. Add caregiving notes where they will be used, not on a forgotten master document.
For pets, include food, water, medications, leashes, carriers, litter, waste bags, and a comfort item. For kids, add easy snacks, warm layers, small games, and a flashlight they are allowed to use. For older adults, include mobility aids, backup glasses, hearing aid batteries or charging plans, medication timing, and a simple way to call for help from the bedroom or main gathering area.
The key is specificity. “Check on Grandma” is not a plan. “Bring walker, medication pouch, phone charger, and bedside flashlight to the living room by 8 p.m.” is much easier to follow.
Step 9: Create a one-page master list
After you build each room section, reduce the whole plan to one page. During an outage, nobody wants to read a binder by lantern light.
Your master list should include
- First 10 minutes: check people, check outage status, turn on safe lighting, unplug sensitive nonessential electronics.
- First hour: confirm food plan, set up the communication station, start medical-device backup routines, gather pets.
- Before dark: place lanterns, charge phones, prepare sleeping areas, review weather updates.
- Overnight: conserve power, keep generator safety rules visible, limit refrigerator openings.
- Next morning: reassess food temperatures, battery levels, fuel, water, medication, and neighborhood conditions.
Keep one printed copy in the kitchen, one near the main gathering area, and one with your emergency supplies. A phone copy is useful, but paper wins when the battery bar is looking dramatic.
Step 10: Test the checklist before outage season
A checklist only works if it matches your home. Once or twice a year, run a 30-minute drill without cutting power to anything unsafe. Walk through each room, find the supplies, read the labels, and ask whether a tired person could follow the list at night.
Look for friction. Are the flashlights dead? Is the power station stored under a pile of holiday decorations? Does anyone know which plug belongs to the router? Are the freezer thermometer and medication notes easy to find? Fix the small annoyances now, because small annoyances become big delays when the lights go out.
Questions people ask
What are the essential steps to prepare my home for a power outage?
The essential steps are to identify critical household needs, assign each room a short outage checklist, prepare safe lighting, protect refrigerated food and medication, plan communication and charging, document backup power limits, and test the plan before storm season. A good blackout plan is specific enough that someone else in the home can follow it without guessing.
How much backup power does a home need for a blackout?
There is no single correct amount. A renter who needs phones, a router, lights, and a CPAP machine has a different plan than a homeowner trying to support a refrigerator, freezer, sump pump, and selected circuits. List the devices you truly need, estimate how long each must run, and choose backup power around those essentials rather than trying to power the whole house by default.
Where should I store outage supplies?
Store supplies where they will be used. Put bedside lights in bedrooms, food thermometers in the kitchen, communication gear in the gathering room, and shutoff tools near utility areas. Keep a central bin for shared items, but do not make every task depend on finding one perfect box.
Practical takeaway
A room-by-room blackout preparedness checklist works because it turns a stressful household problem into small, visible decisions. You are not trying to solve every possible emergency at once. You are making sure each room supports the basics: safety, light, communication, food, water, medical needs, warmth or cooling, and damage prevention.
Start with the rooms you use every day, then add the spaces that protect the house itself. Keep the wording plain, keep the supplies easy to reach, and revisit the list whenever your household changes. That is how a blackout plan becomes something you can actually use.