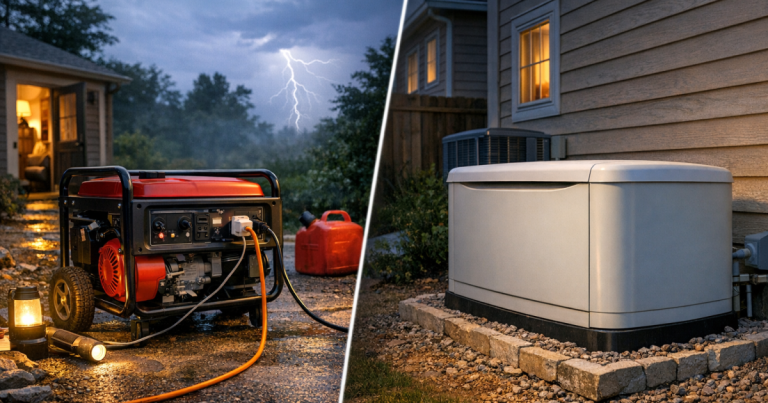
A generator that starts easily on a calm Saturday is much less stressful than one being unboxed in the dark. Taking time to break in a portable generator before storm season helps the engine seat properly, lets you catch leaks or rough running, and gives your household a clean practice run before the power fails. Do it outside, do it unrushed, and write down what you learn.
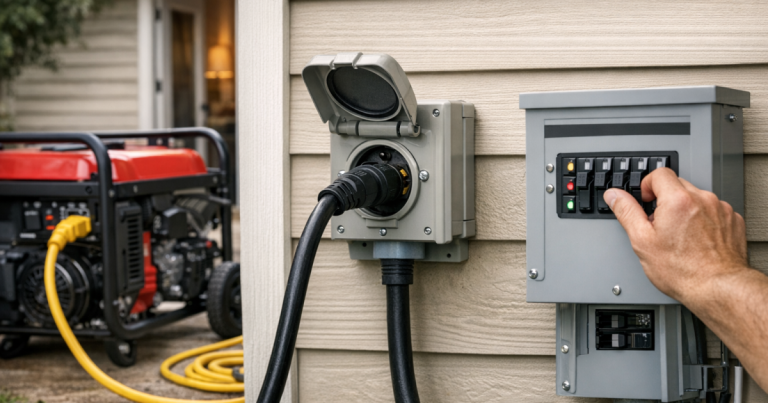
Any transfer switch, interlock, inlet box, or hardwired connection between a generator and home circuits should be installed by a qualified electrician to meet local electrical codes, electrical standards, and safety requirements.
The short version
Breaking in a new portable generator is a controlled first-use routine. You add the correct oil and fuel, run the engine under light and varied load, avoid pushing it hard too soon, change the initial oil as directed by the manual, then test the exact outage setup you expect to use.
- Read the owner’s manual before adding oil or fuel.
- Run the generator outdoors only, well away from doors, windows, garages, vents, and crawl spaces.
- Use fresh fuel and the oil type specified by the manufacturer.
- Vary the load instead of letting the engine sit at one speed for the whole first run.
- Do the first oil change at the interval listed in the manual.
- Test cords, loads, and your shutdown routine before storing it.
Why the first run matters
A portable generator is a small engine driving an electrical alternator. During the first few hours, internal engine parts are wearing into their normal operating surfaces. That does not mean the generator is fragile, but it does mean the first use should be deliberate rather than chaotic.
The other reason is just as important: you are testing your blackout plan. A new generator may arrive without oil in the crankcase. You may discover that your extension cord is too short, your fuel can is empty, your chosen outdoor spot is too close to a window, or the refrigerator and freezer do not fit the power plan you had in mind. Finding those problems on a clear afternoon is a win.
If you are still deciding which household loads should be on generator power, pause and read our guide to what size generator you need for a blackout. Break-in is easier when you are not guessing whether a load belongs on the generator in the first place.
Step 1: Read the manual before you pour anything
Start with the manual for your exact model. Do not rely on a generic small-engine routine from a forum or a neighbor, because oil type, fuel type, break-in timing, choke controls, eco-mode settings, and first oil-change intervals can vary by generator.
For example, a compact inverter generator such as the Honda EU2200i will have different controls and maintenance details than a larger open-frame dual-fuel unit. The basic principles are similar, but the correct procedure is the one printed for the machine in front of you.
Before starting, confirm these details:
- The correct engine oil viscosity for your expected temperature range.
- Whether the generator shipped dry or already contains oil.
- The recommended fuel type and whether ethanol limits are stated.
- The first oil-change interval.
- Whether the manual recommends running with no load, light load, or varied load during initial operation.
- Any instructions for carbon monoxide shutoff sensors, eco-throttle, or fuel shutoff valves.
Step 2: Set up in the same safe place you would use during an outage
Do not break in the generator in a garage, shed, basement, breezeway, porch, or near an open door. Portable generators produce carbon monoxide, an odorless gas that can build up quickly and become deadly. Run the unit outside, on a dry and stable surface, with exhaust pointed away from the house.
Many safety agencies advise keeping portable generators at least 20 feet from doors, windows, and vents when possible. Your property may make that awkward, which is exactly why this practice run matters. Walk around the house and look for air intakes, basement windows, pet doors, crawl-space vents, and neighbor-facing windows before you start the engine.
Keep the generator dry and protected from direct rain without enclosing it. A purpose-built generator tent or canopy can help, but the exhaust and cooling air still need open space. Never drape a tarp over a running generator.
Step 3: Add oil carefully and check it twice
Most portable generator problems during first use are not dramatic. They are simple mistakes: not enough oil, too much oil, the wrong oil, or failing to recheck the level after the engine has run for a few minutes.
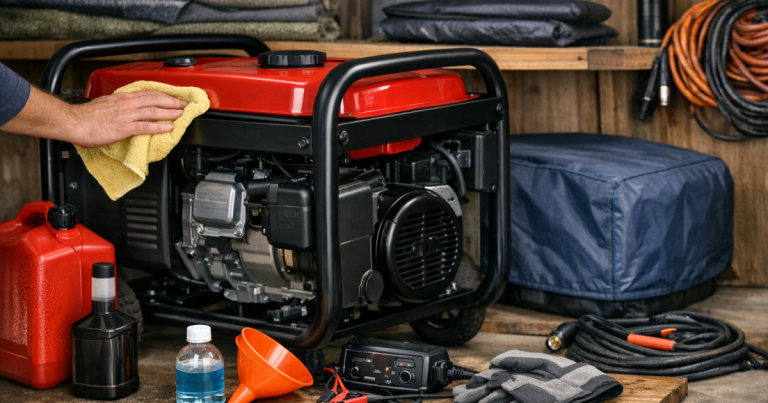
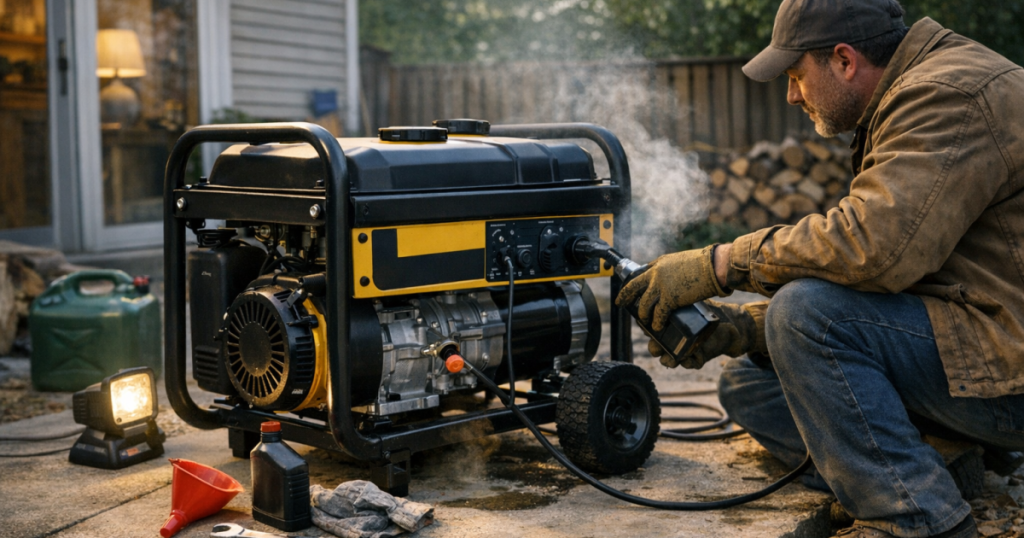
Place the generator on level ground. Add the oil slowly, using a clean funnel if needed. Check the dipstick the way the manual says to check it, because some engines require the dipstick to be screwed in for reading and others do not. Wipe, reinsert, and recheck rather than trusting the first glance.
After the first short run, shut the engine down, let it cool as directed, and check the level again. New owners often skip this step because the generator started fine. The goal is not merely to start it; the goal is to know it is lubricated correctly for a long outage.
Step 4: Use fresh fuel and avoid rushing the start
Use fresh gasoline from a clean approved fuel container, or the correct propane setup if the generator is dual-fuel. If your generator can run on more than one fuel, follow the manual’s instructions for the fuel you choose for break-in. Do not switch fuel types casually during early operation unless the manual gives a clear procedure.
For gasoline models, keep the fuel cap area clean before opening it. Add fuel outdoors with the engine off and cool. Wipe spills before starting. Do not top off the tank to the brim; fuel can expand, and the manual will usually show the correct fill point.
Starting steps vary, but the calm routine is the same: fuel valve open if applicable, choke set as directed, engine switch on, then pull-start or electric-start according to the manual. Once it starts, listen for a steady sound and watch for leaks, unusual smoke, strong fuel odor, or vibration that seems abnormal.
Step 5: Run a gentle, varied load rather than going straight to full demand
Once the generator is running smoothly, let it warm up before plugging anything in. Unless the manual says otherwise, start with no load or a light load, then add modest loads in stages. The point is to let the engine work without asking it to carry your whole outage plan immediately.
Good practice loads might include a plug-in work light, a small fan, or another simple device that is easy to monitor. After the first warm-up period, add and remove loads gradually. Avoid heavy startup loads, long high-output runs, or trying to power a refrigerator, freezer, microwave, and several tools all at once during the first session.
This is also the right time to break in a portable generator as a household system, not just an engine. Confirm which extension cords reach, which appliances you can safely power, and which loads will stay off the generator. Use outdoor-rated cords of the correct gauge and rating for the load. Do not run cords under rugs, through standing water, or where a door can pinch them.
Step 6: Change the first oil when the manual says to
The first oil change is one of the most important parts of the break-in process. Small metal particles and manufacturing residue can end up in the first batch of oil as engine parts seat. That is normal, but the oil should not stay in the engine longer than the manufacturer recommends.
Some manuals call for an early oil change after the first few hours of use. Others list a different interval. Follow the stated number for your model, and use the specified oil type and amount. Warm oil usually drains more completely than cold oil, but the engine should be shut off and allowed to cool enough to handle safely before you remove the drain plug or oil access panel.
Dispose of used oil through a local recycling or auto-parts collection option. Do not pour it on the ground, into a storm drain, or into household trash unless your local rules specifically allow a sealed disposal method.
Step 7: Test your real outage routine
After the initial run and oil change, do a short practice session that looks like a real blackout. This does not need to be dramatic. The goal is to learn the order of operations while the lights are still on.
- Move the generator to its safe outdoor operating spot.
- Confirm the unit is level, fueled, and filled with the right amount of oil.
- Start it and allow it to warm up.
- Connect one load at a time.
- Listen for engine strain as motors start.
- Note which appliances or circuits are being powered.
- Shut loads off before stopping the generator.
- Let the generator cool before refueling, moving, or covering it.
If your home uses a manual transfer switch, practice the non-energized steps and review the safe sequence before a storm. Our walkthrough on how to use a transfer switch during a blackout explains the basic flow, including why backfeeding through a dryer outlet or improvised cord is unsafe.
What to write down before you store it
A simple generator note card is more useful than memory during a stressful outage. Tape it inside a garage cabinet, keep it with the manual, or store it in your outage binder.
- Oil type and amount used.
- Date and hour-meter reading, if the generator has one.
- Fuel used during break-in.
- First oil-change date and interval.
- Which cords reached which appliances.
- Which loads caused noticeable engine strain.
- Safe outdoor operating location.
- Shutdown and cool-down steps.
If the generator does not have an hour meter, use a paper log. Write down start and stop times each time you run it. That makes oil changes and maintenance less of a guess.
Common mistakes to avoid
Most break-in mistakes are easy to prevent with patience and a checklist.
- Running indoors or in a garage: Open doors do not make indoor generator use safe. Carbon monoxide can still collect inside living spaces.
- Skipping the first oil change: The engine may sound fine, but early oil service helps remove break-in debris.
- Starting with heavy loads: Avoid using the first session to test the generator’s maximum output. Build up gradually.
- Using old fuel: Stale gasoline can make a new generator hard to start and harder to diagnose.
- Refueling while hot: Shut the engine off and let it cool before adding fuel.
- Ignoring cord ratings: Undersized or damaged cords can overheat and create avoidable risk.
- Storing it dirty: Let it cool, clean around the fuel cap and air intakes, and store it where it will not be buried behind seasonal clutter.
Storing the generator so it is ready later
Break-in is not finished until the generator is stored in a way that supports the next start. Follow the manual for fuel storage. Some owners store gasoline equipment with stabilized fuel in the tank; others drain the carburetor or run the engine dry according to the manufacturer’s procedure. The right answer depends on your generator and how long it may sit.
Keep extra oil, the correct funnel, spark plug information, cord adapters, and the owner’s manual with the unit. If you rely on gasoline, rotate fuel instead of leaving a forgotten can in the corner for a year. For more detail, use our guide on how to store generator fuel safely between outages.
Helpful questions
How long does it take to break in a portable generator?
It depends on the model. Plan for several hours of controlled running, plus the first oil change at the interval listed in the manual. Do not assume every generator uses the same timing.
Can I use the generator normally during the break-in period?
Use it within the limits in the manual. A light or moderate practice load is usually more sensible than immediately running the highest loads your generator can handle.
Should eco-mode be on or off during break-in?
Follow the manual for your model. Some owners prefer varied engine speed during early use, but the manufacturer’s instructions should control how you use eco-mode or idle-control features.
Do I need to break it in again after storage?
No, not in the same way. After storage, do a maintenance check, inspect oil and fuel, start it outdoors, and run a short test before storm season.
What if the generator runs rough during the first session?
Shut it down safely, let it cool, and check oil level, fuel freshness, choke position, air filter seating, and the manual’s troubleshooting steps. Do not keep adding load to a rough-running engine.
Main points
A good break-in routine is calm, boring, and very useful. Read the manual, add the right oil and fuel, run the generator outdoors under gentle varied load, complete the first oil change on schedule, and test the exact cords and loads you expect to use during an outage.
The payoff is confidence. When the next storm knocks out power, you are not learning the controls by flashlight or wondering whether your setup is safe. You already know where the generator goes, what it can reasonably power, and what steps come next.